Build a form
What we'll build
To show how it works, we'll build a sign-up form for an event: an open day at a community garden. By the end you'll have a form that asks each guest for:
- their name and email address
- how many people are coming (from 1 to 6)
- which tour they'd like, from a short list
- any dietary needs, if they have some
- anything else you should know
You'll share it with a link, and read the answers as they come in. Your own form will have different questions, but the steps are the same.
1. Make the form
- Sign in, and on Forms choose New form.
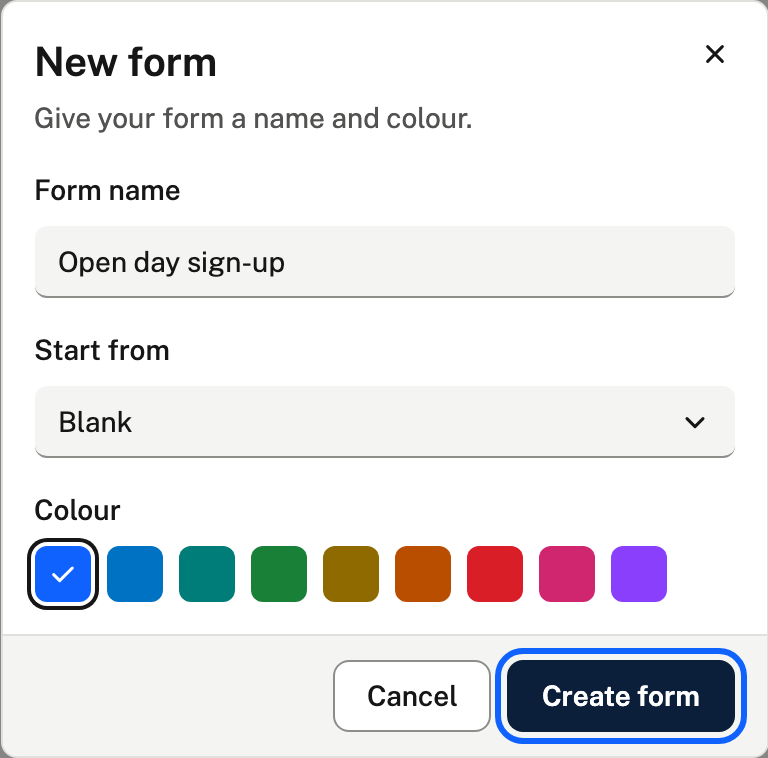
- Give it a name, like "Open day sign-up". Only you see the name. People answering see the form's own title, which we'll add next.
- Choose Create form, then open it.
Made a form you like before? Start from a template instead, and the new form begins with its questions and colours.
2. Add a title and some words
Everything in a form is an element. Choose Add element to add one.
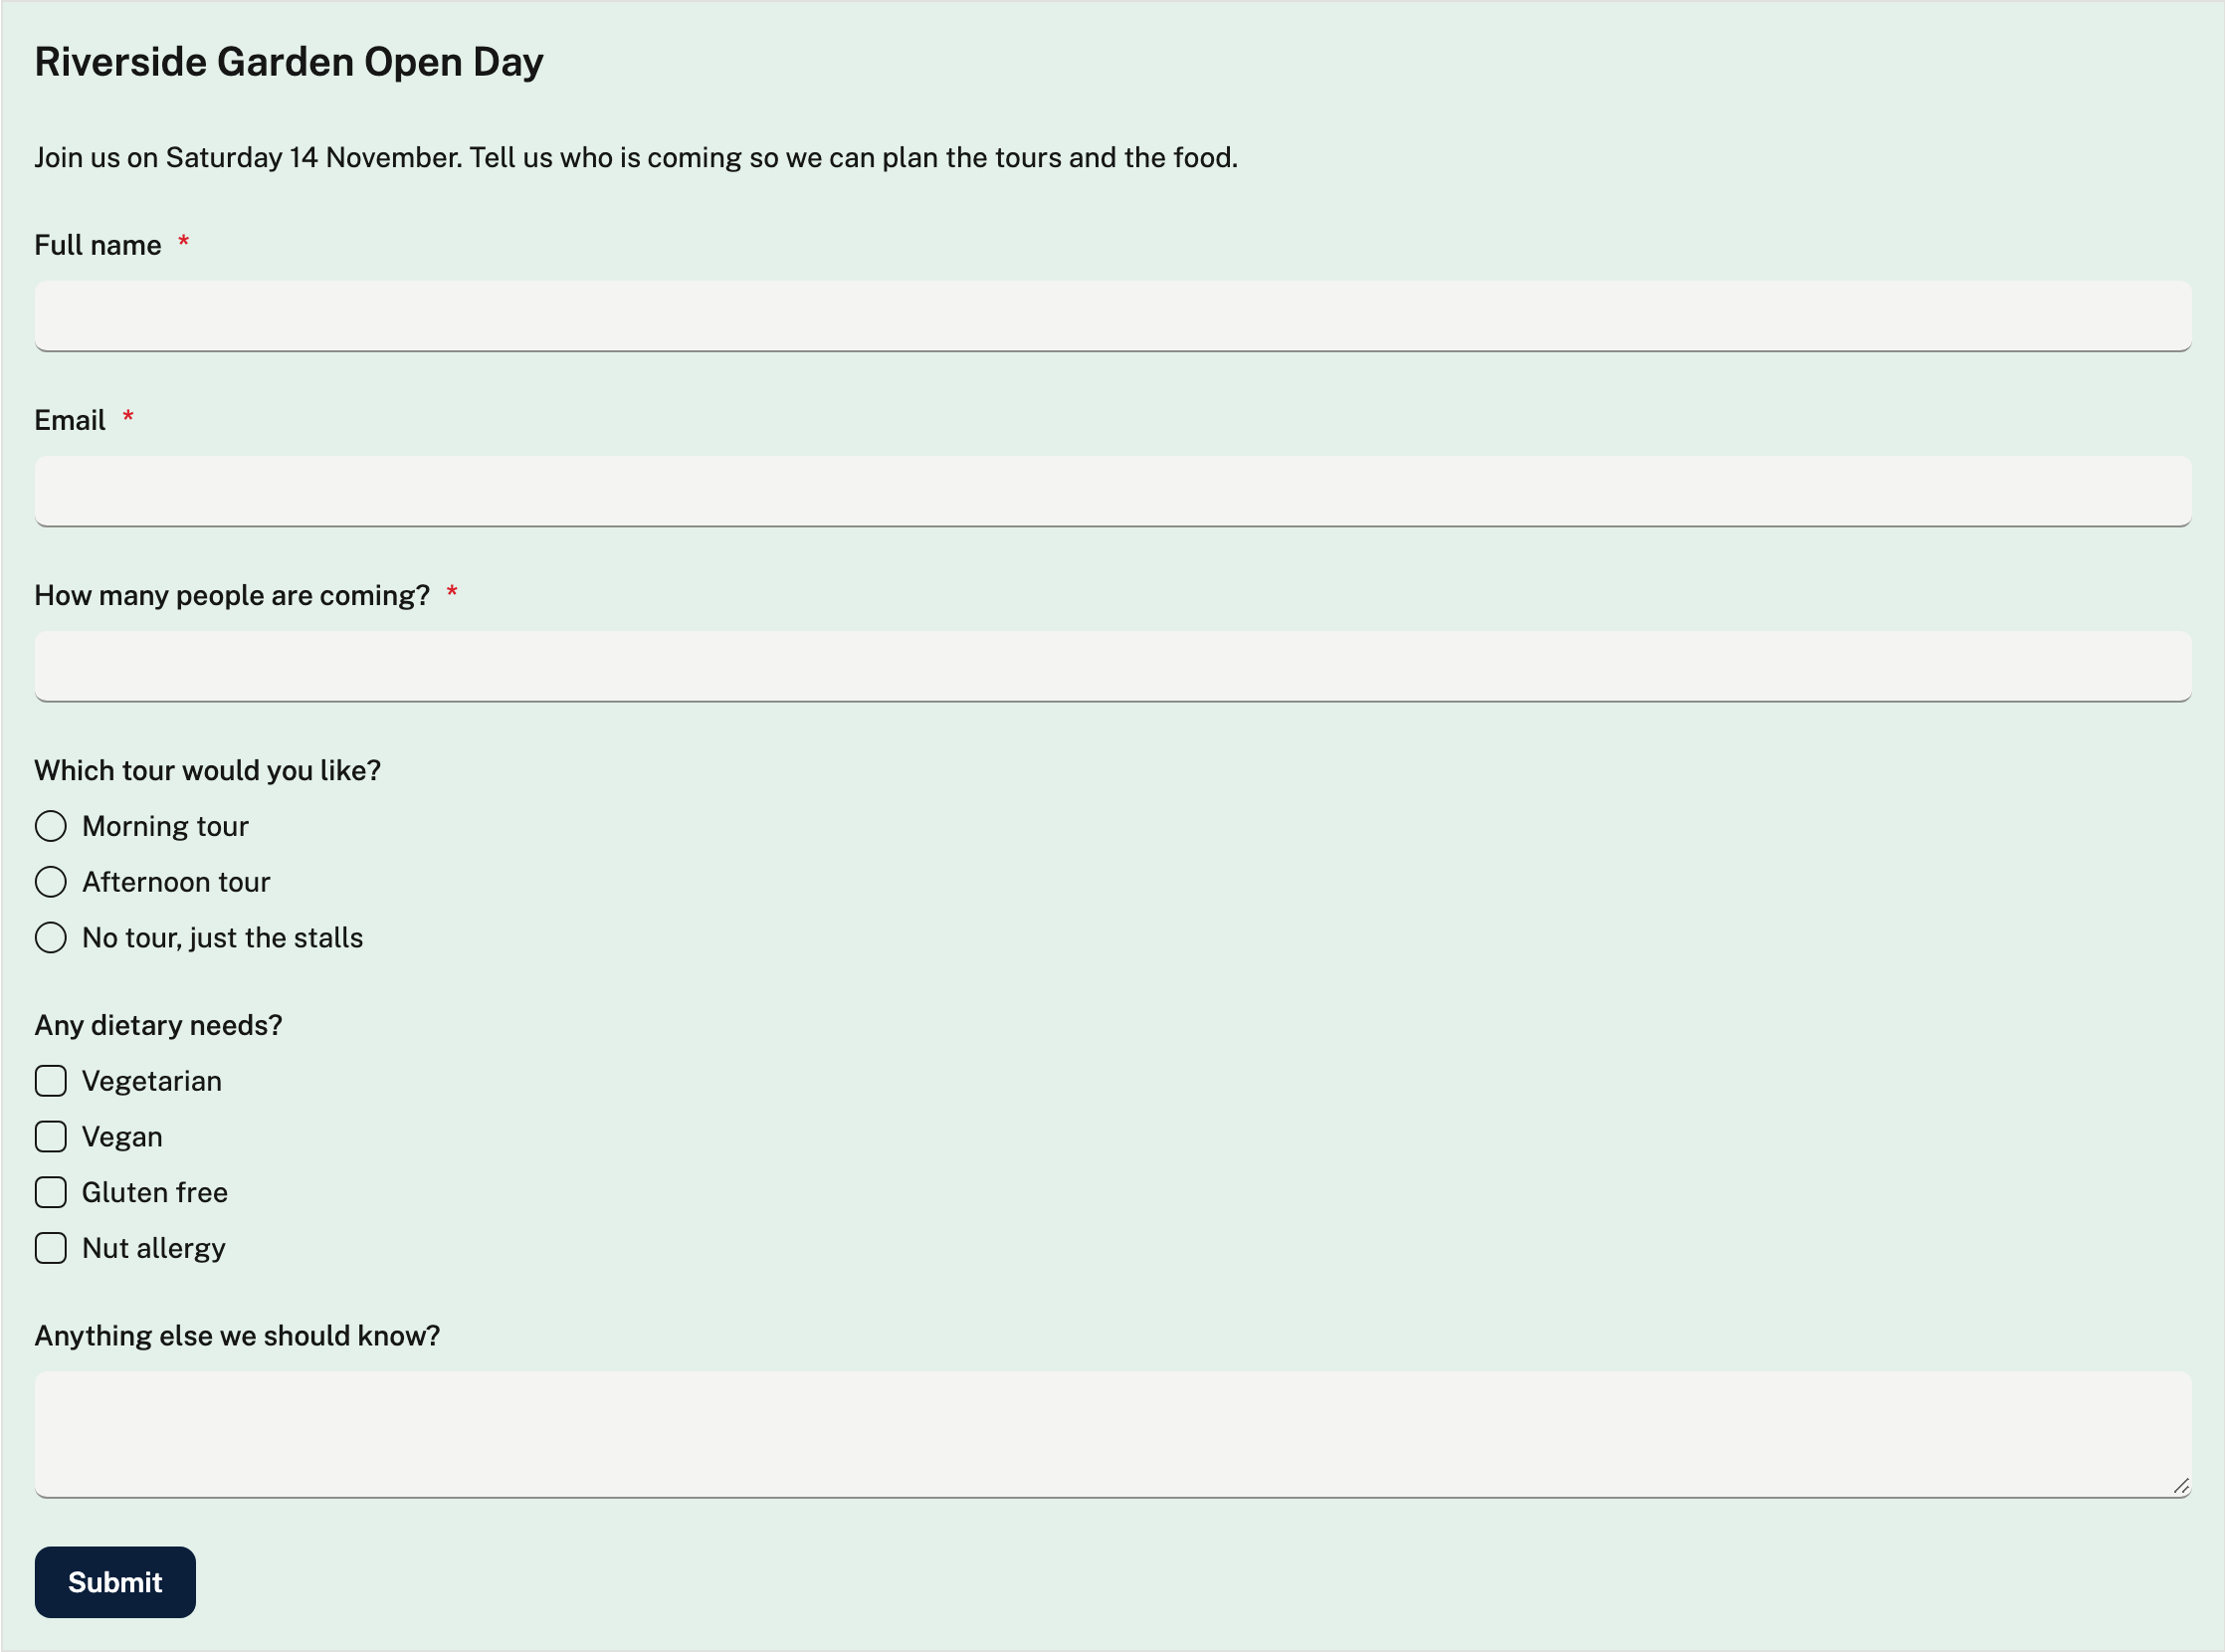
- Add an element and change its type to Title. Type "Riverside Garden Open Day".
- Add another and change its type to Text. Say what the form is for: "Join us on Saturday 14 November. Tell us who is coming so we can plan the tours and the food."
Everything you type saves as you go.
3. Add the questions
Add an element for each question, type the question, and pick the kind of answer you want. We'll add five.
- Full name and Email, both as Short answer. Switch on Required for each, so nobody sends the form without them.
- How many people are coming? as a Number. Turn on Required, then set Min to 1 and Max to 6. Anyone who enters 0 or 10 is asked to change it.
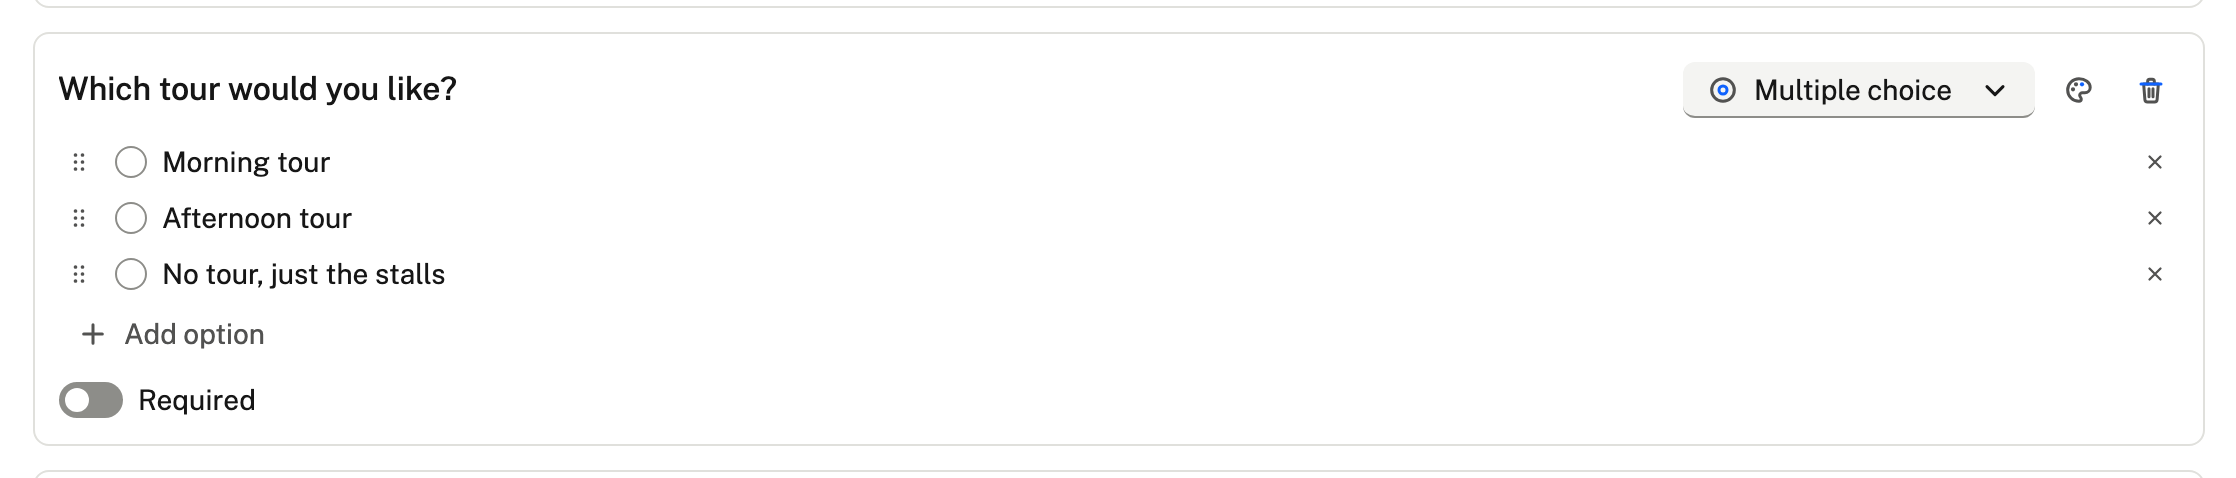
- Which tour would you like? as Multiple choice, where people pick one. Rename the options to "Morning tour", "Afternoon tour" and "No tour, just the stalls", using Add option for more.
- Any dietary needs? as Checkboxes, where people pick any. Add "Vegetarian", "Vegan", "Gluten free" and "Nut allergy".
- Anything else we should know? as Long answer, for a few sentences. Leave it optional.


**bold**, *italic*, [a link](https://example.com), and lines starting with - for a list. Pictures (the Image and Draw on image elements) can be PNG, JPEG, WebP or GIF, up to 5 MB.4. Give it some shape
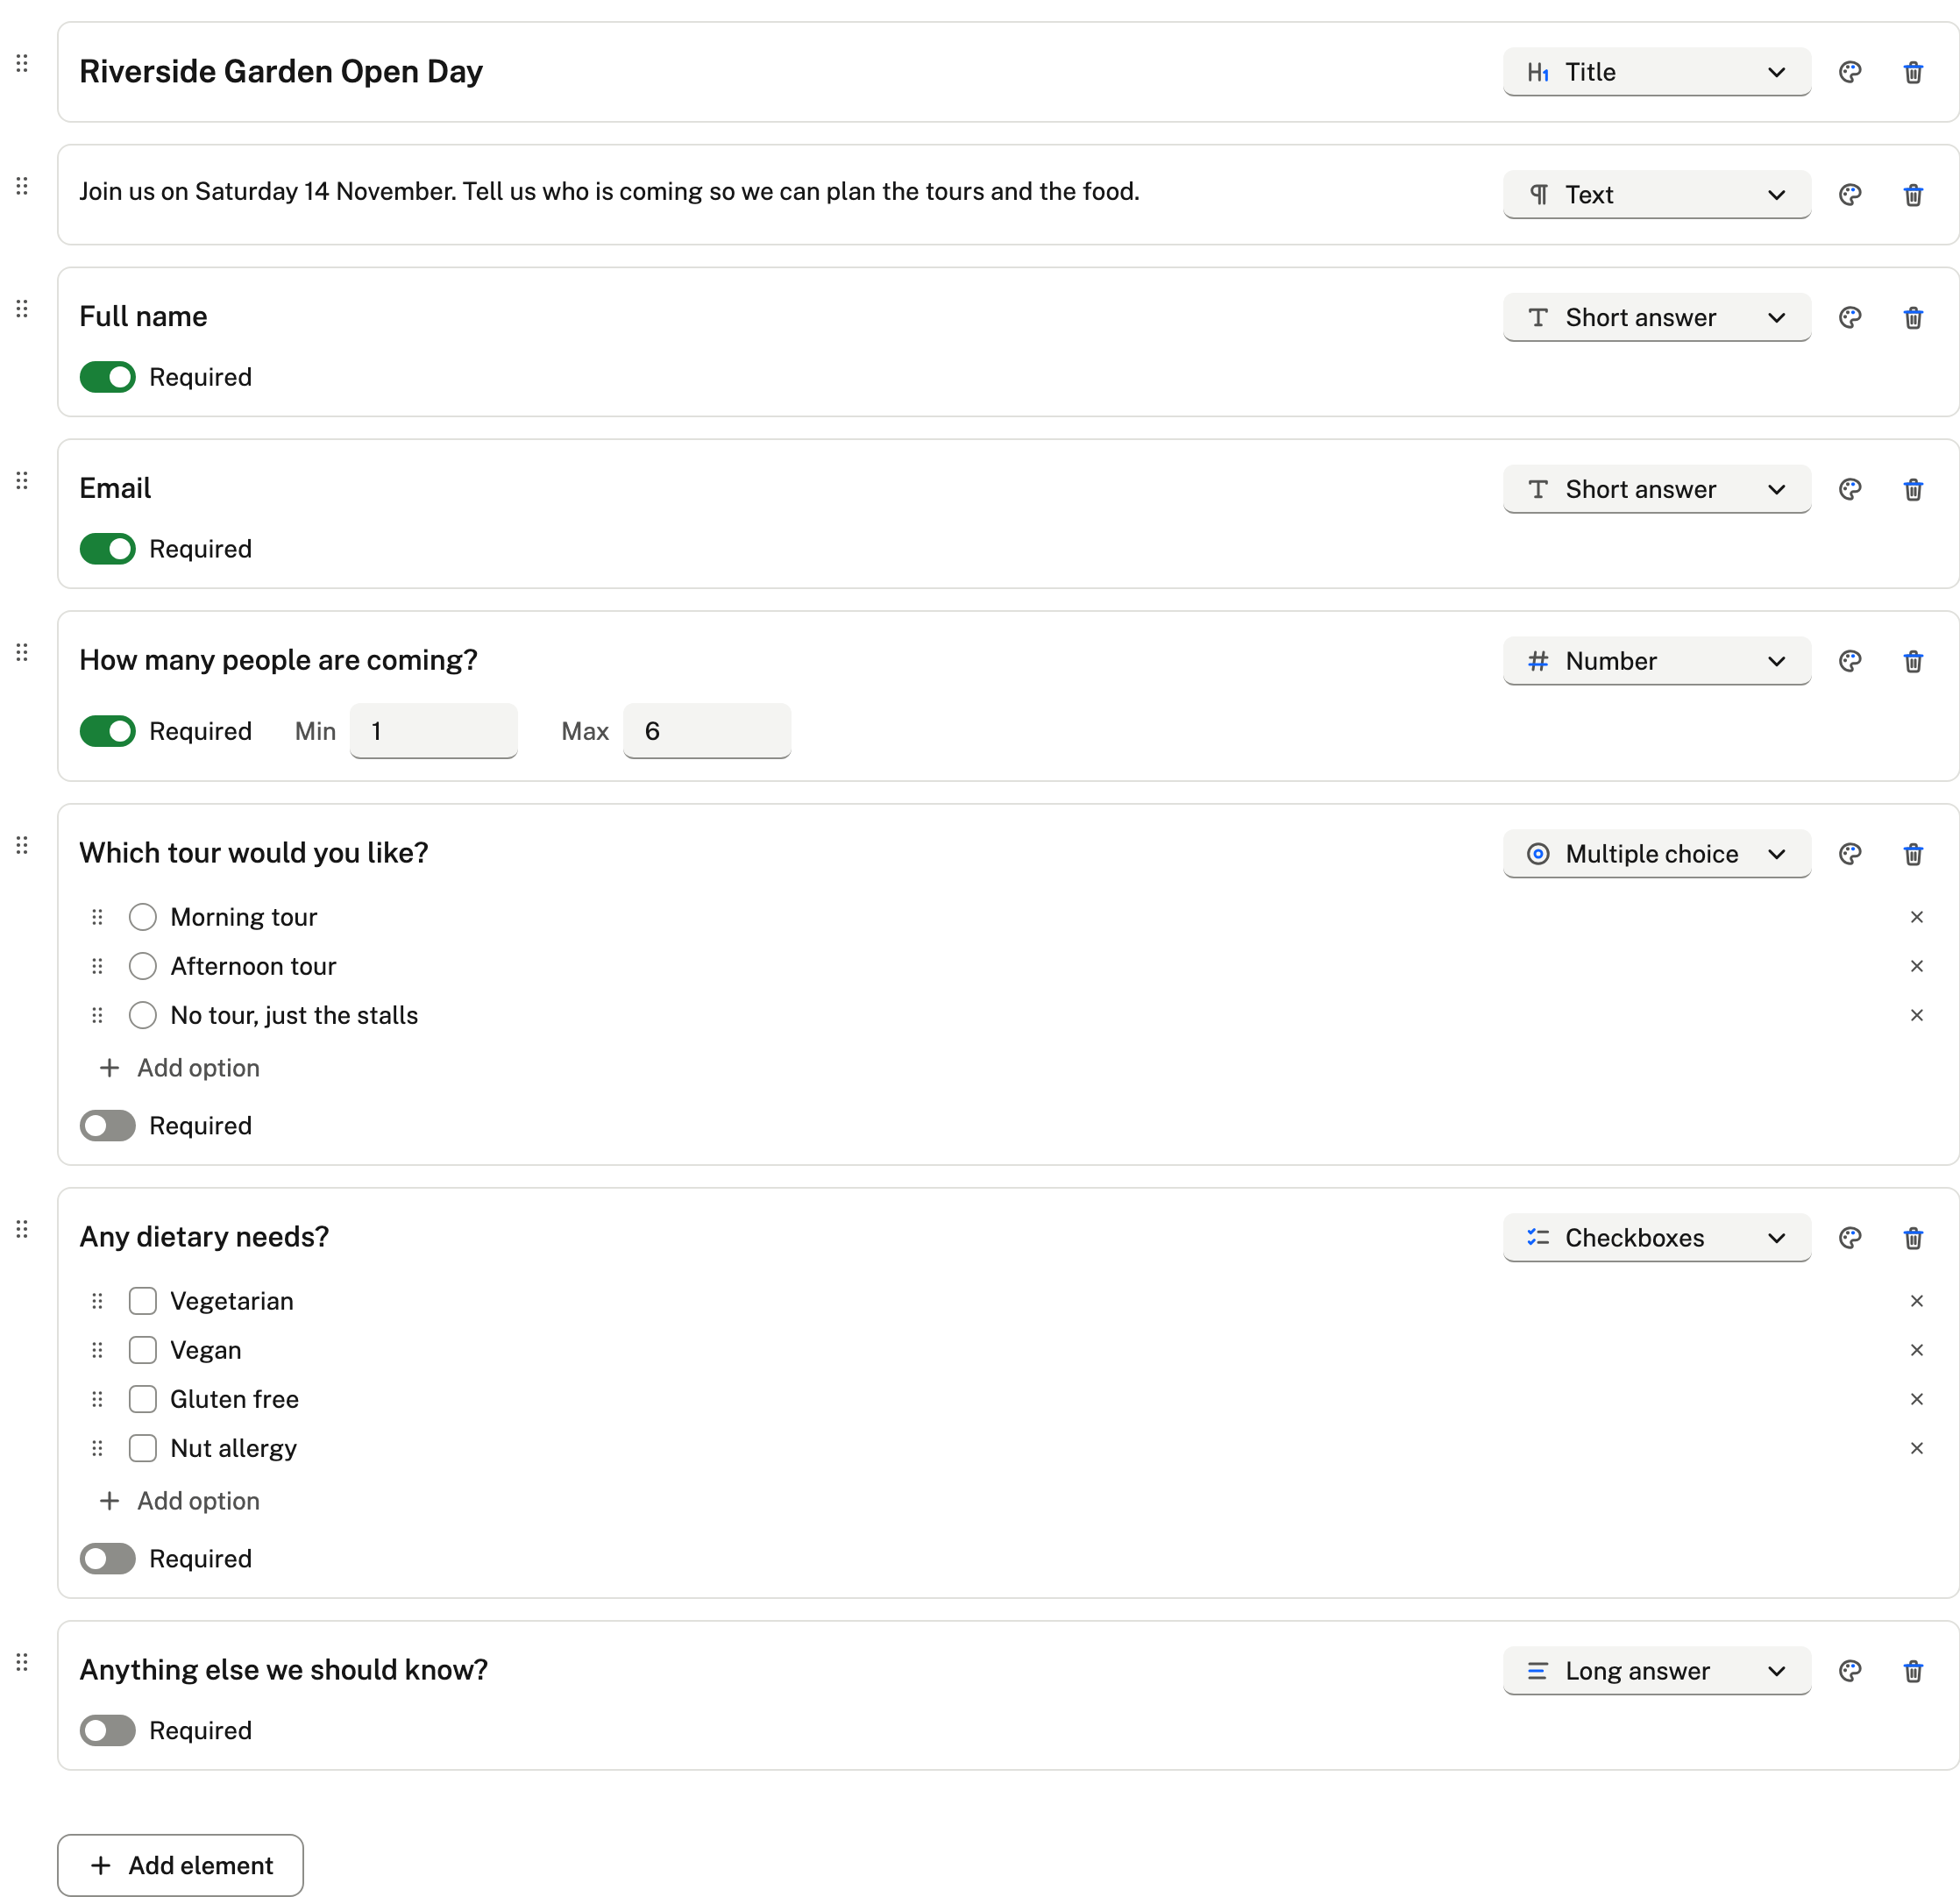
This is how the form looks in the builder, with all of its elements:
- Drag elements to reorder them, or use their menu: Move up, Move down, and Join row above to put up to three side by side. Name and Email would sit nicely in one row.
- Dividers, spacers and images break up a long form. A banner photo of the garden would suit this one.
- Show only if hides a question, title or any other element until an earlier answer matches. Hidden questions are never asked for, so a required one doesn't block anyone who doesn't see it. Put the rule on a title to show or hide its whole section: everything below it, up to the next title or page break.
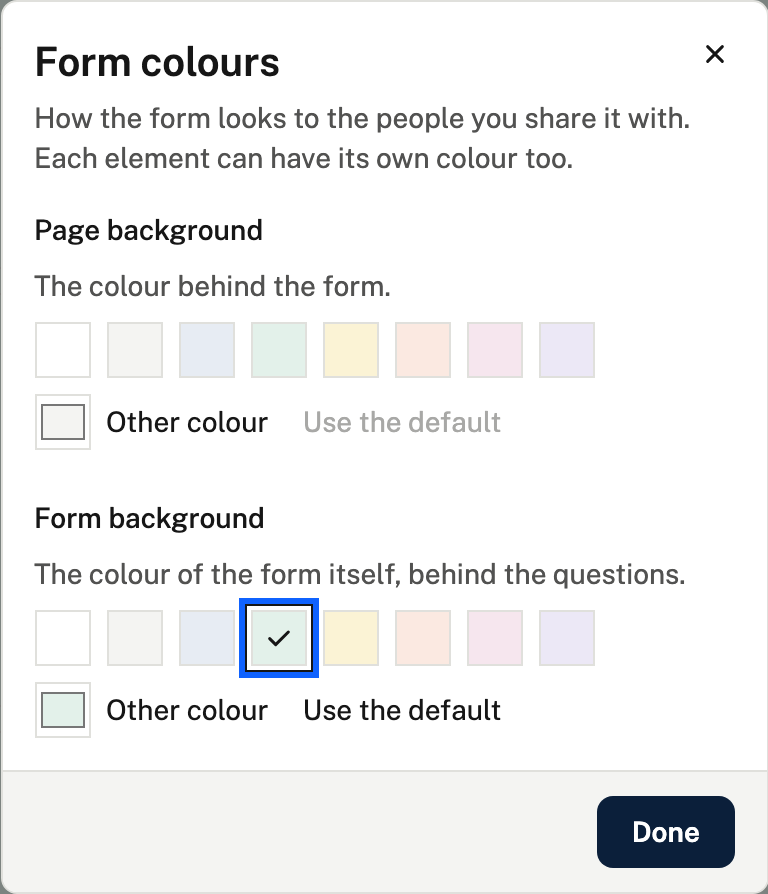
- Colours sets the form's colours and the page behind it, and its font (Standard, Serif, Rounded or Typewriter). We chose a pale green for the form. To use the same look on another form, save it as a theme in the same window, then choose Use next to it on the other form.
5. Preview it
Choose Preview to see the form as people will, and Edit to go back. Required questions are marked with a star. On a phone everything stacks into one column, and the Phone, Tablet and Desktop buttons above the preview show you how.
Nothing you do in the preview is saved, so try it out.
6. Share it
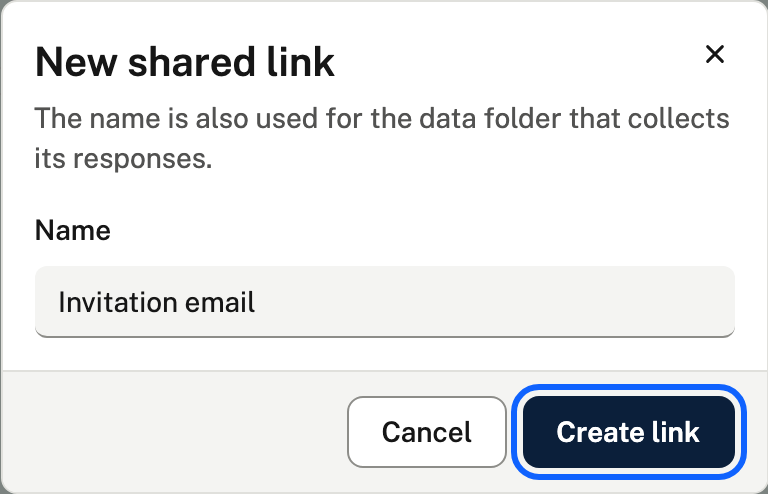
- On the form's page, choose New shared link, give it a fitting name for how it will be shared ("Newsletter", "Poster") and choose Create link. For the open day, "Invitation email" fits.
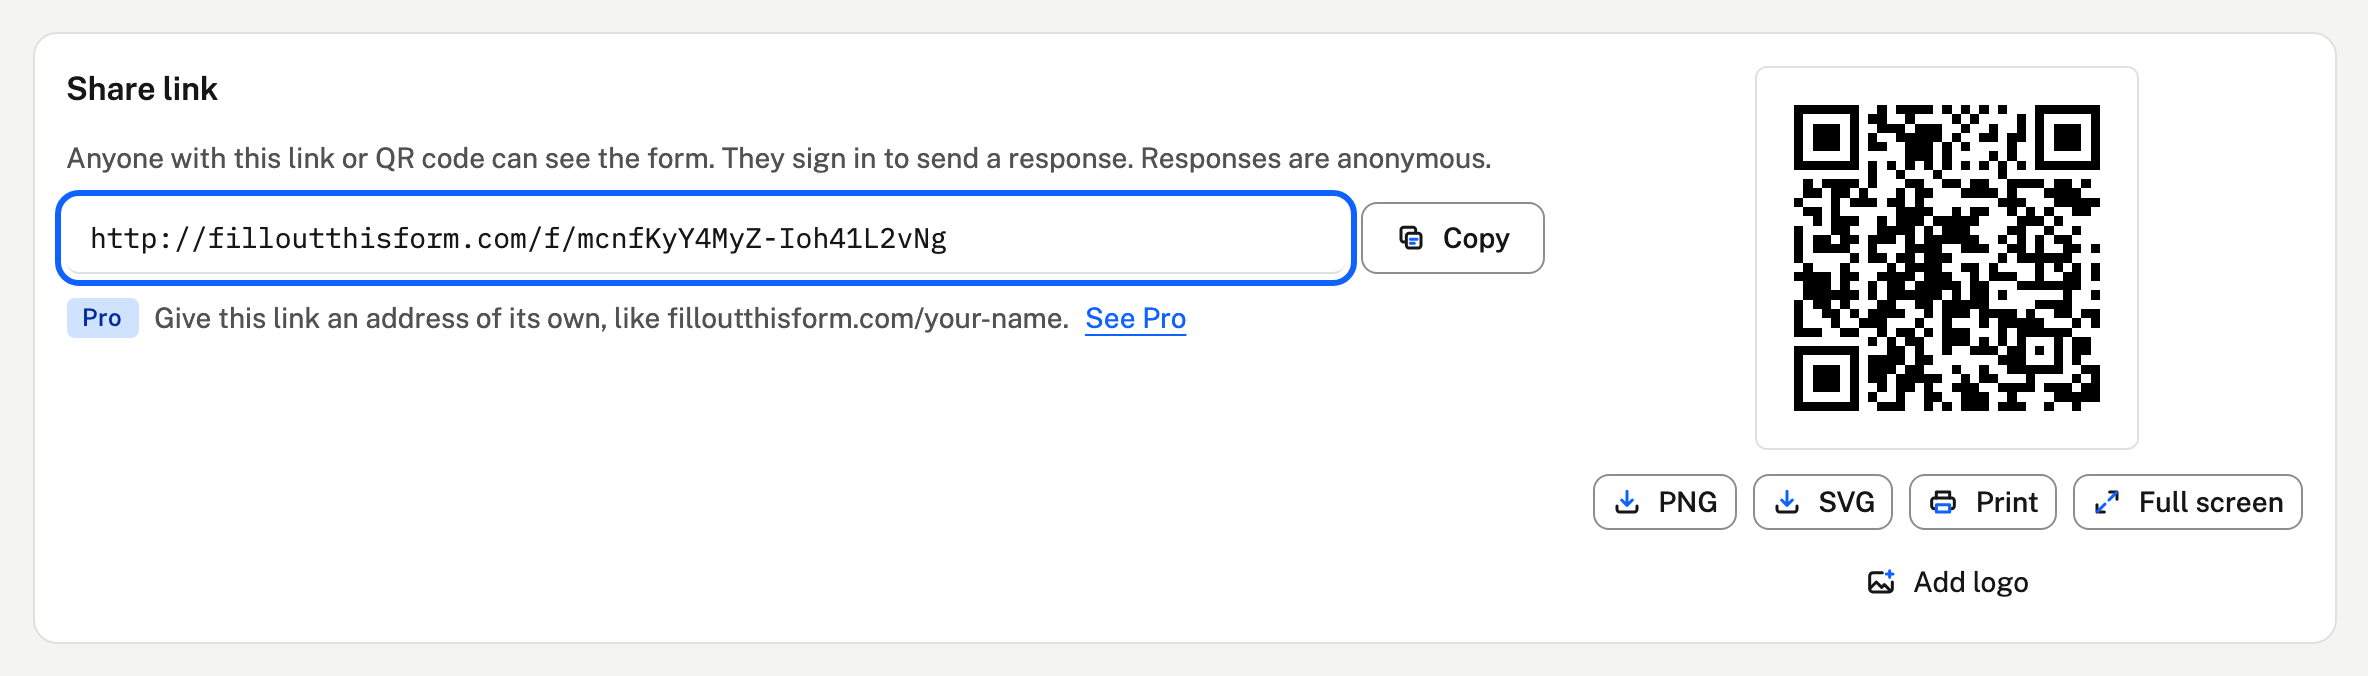
- Copy the link and send it, or download its QR code for a poster or a slide.
Each link keeps its own responses, so one link per place shows you where answers came from. Free forms can have 2 links. More in Sharing & QR codes.
7. Read the answers
Open the link and choose its Responses tab. Each guest is a row, with their answers across the page. Choose Download for a CSV or JSON file.

To hear about new responses, see Alerts. More in Responses & downloads.
What a form can have
- Questions: short and long text, email addresses, numbers, dates, multiple choice, dropdown lists and checkboxes, each of which can be required or kept to a range.
- Choice matrix: a grid where people pick one answer per row from the same columns, such as rating food, service and price as Good, Okay or Poor. List the rows and columns one per line. You can let a row take more than one answer, and if you make it required, every row has to be answered.
- Calculation: a number worked out as people fill the form in, such as a total. Give each choice a Value in its options (a price, a score), then pick the number questions and choices to add up, multiply, average, or take the lowest or highest of. You can add a symbol like $ before it. The form shows it as they go, and it's worked out again when they send it, so it can't be changed on the way. It can also count the days between two date questions, such as the nights of a stay.
- Display elements: titles, text, dividers, spacers and images. A page break splits a long form into pages with Next and Previous buttons. Turn on One question per page to show a question at a time instead.
- Up to three elements side by side, and colours for the form, its page and each element.